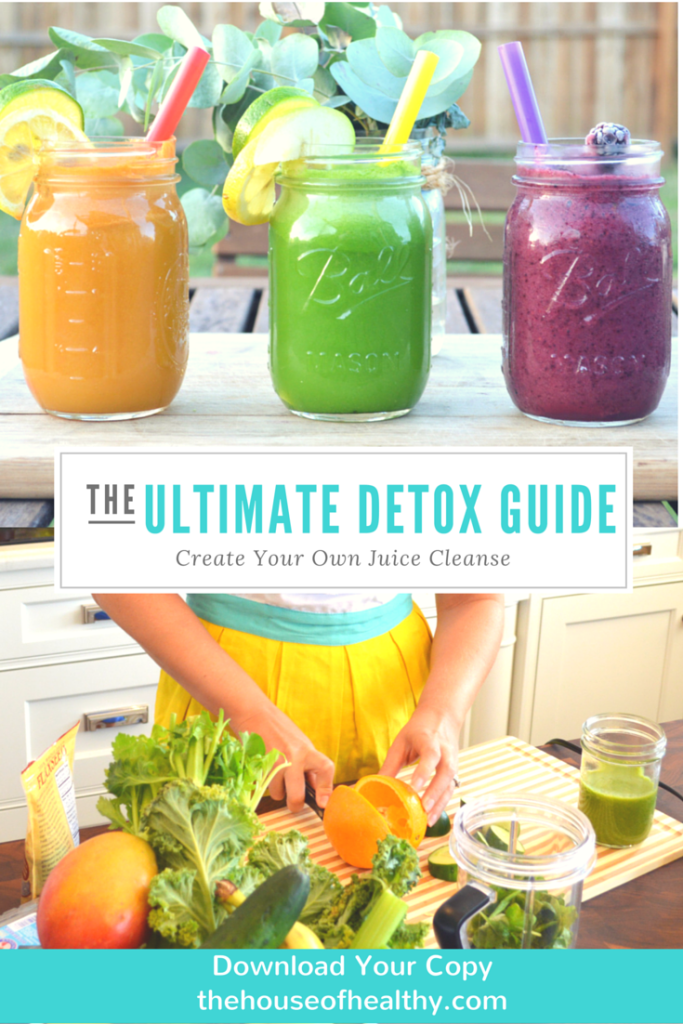
 For many people looking to get and stay healthy, a juice cleanse is the kickstart they need to start this new lifestyle. It is also a good reboot for others who live a healthy lifestyle, but may have strayed (think vacation or the holidays) a bit. There are many juice companies that will package and send you your juice for the cleanse, along with instructions, so it is ready for you to start cleansing as soon as you receive your shipment. While this can be super convenient, it can also be super expensive. Most cleanses cost upwards of $200 (before shipping) for a 3-day juice cleanse, or closer to $300 for a 5-day juice cleanse.
Instead of paying for shipping and packaging, as well as overpaying for your produce and juice, you can make all the juice you need for a full-blown juice cleanse in your own kitchen. You’ll save money, get to drink the juices you want and can juice for 3, 5, 7 or even 10 days, without going broke.
Here is how to get started building your juice cleanse:
1) Juicers and Blenders
For a true juice cleanse, you’ll need a juicer, not a blender, even Vitamix, Blendtec, Ninja or Bullet (whether Magic or Nutri). You need something that extracts the pulp and fiber from the liquid, rather than blending it in. While it might seem like a waste or even counter-intuitive to ditch the fiber, there is a purpose behind it. When juicing, you are restoring your bodily systems and flushing them out. This is easier to do when there is no fiber to breakdown and your bod can absorb all the nutrients, enzymes and phytonutrients (like anti-oxidants) quickly and efficiently. Basically, you digestive system gets a break and you absorb the healing nutrients into your bloodstream a little faster.
So what if you have a blender instead? If it is a super powerful one that claims to “extract”, or break down, nutrients in your produce, this is an option. You’ll get fiber, which might help you stay full longer between each drink, but it will also slow down the detox and cleansing benefits, since your body will have to work a little harder to break it all down.
2) Produce
This goes without saying, but you need a TON of produce for your juice cleanse. You’ll need a variety of leafy greens (kale, spinach, romaine lettuce), celery, lemons and cucumbers for your green base. You’ll also need some sweeter, juicier items such as apples, beets and carrots. You can also add fun flavors and spices to enhance flavors, such as ginger and lime. If you plan on making these into smoothies, a few bunches of bananas, to freeze, would also be good.
You need enough produce for at least 3 large (pint) juices and 3 smaller (1/2 pint) juices a day. For a large, pint-sized green juice, this breaks down to:
- 1-2 large cucumbers
- 1 large apple
- 1 cup spinach
- 1-2 celery stalks (they are pretty strong)
- 3 kale leaves
- 1/2 head romaine
- 1 lemon
- optional 1 inch ginger
- If using carrots, beets, or other juicy items, you can lessen the cucumbers, apples, and lemons or even leave out the celery.
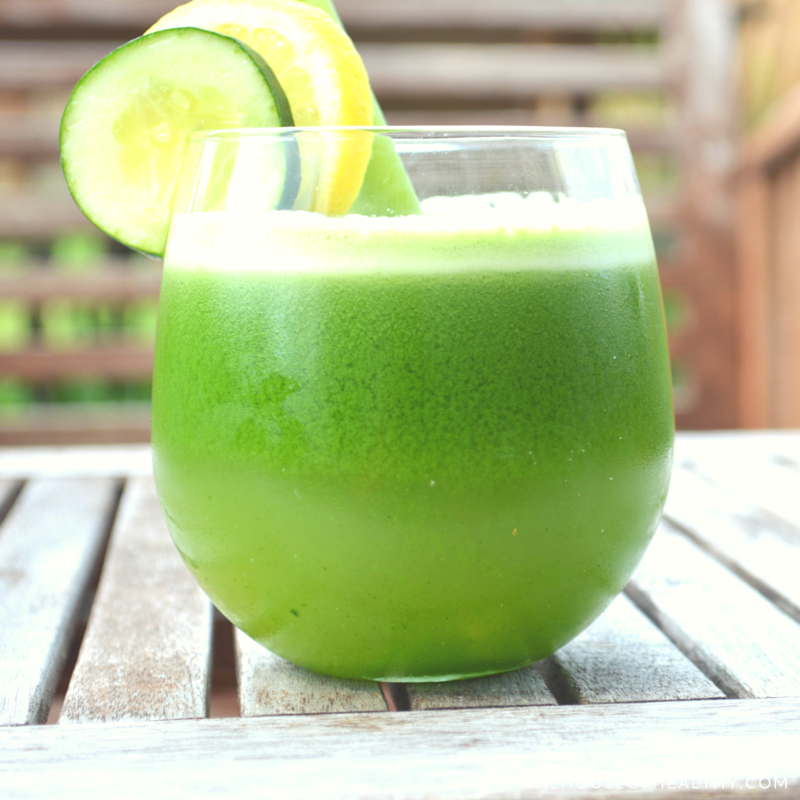
The Perfect Green Juice: Add all above ingredients to your juicer (juiciest items last) and send them through. Pour into a glass and drink immediately.
Buying in bulk or from a farmers market or produce stand is usually the best way to get all of your produce, without breaking the bank. You may also be able to work out a discount with stores and farmers to purchase large amounts of produce that is still good, but is not fresh enough for the store shelves. You may be able to get entire bags or boxes of produce for a fraction of the price.
3) Juice Storage
It is super helpful when juice cleansing to have some, if not all, your juice for the day ready to go. This way, you have it as soon as you need it, and it is one less excuse for giving up and no rushing to get it made. Since juice starts to fade and the enzymes die off almost immediately, making them last less than 24 hours, it is better to freeze your juices than refrigerate them. The freezing process keeps the nutrients and enzymes intact, until you are ready to thaw and drink. Here are the two best ways to freeze your juice:
- Mason jars: These glass jars can be frozen and are easy to portion out your juices. Pint, 1.5 pints or quart jars work well for your “meal”, with 1/2 pint or pint jars for your snacks juices. You could also cut back on the snacks and opt for only quart sized large (mostly green) juices throughout the entire cleanse.
- Freezer safe bags: Bags make it easy to stack, store and thaw your juice, although they may leak. You will still need a jar to pour your juice into once it is thawed. Some people prefer jars over bags, because they wish to limit the use of plastic in their food preparation. If not, and your bags are pretty heavy duty, these work really well.
- Prep your juices, seal them and freeze them: Make your juices, pours them into your container of choice and freeze until you are ready to thaw and drink. You can always label and date them to remember which juices you are using.
- Thaw when you are ready to drink:
- If using mason jars, you’ll need more time to thaw. Keep the juice frozen until the night before drinking. Pull out all of your juice for the next day. Place the jars in the fridge, leaving your breakfast juice on the counter to thaw overnight.
- If you are using freezer bags, these thaw quickly. You can place them in the fridge overnight to thaw, or even thaw your breakfast juice by placing the bag in a bowl of water to thaw as you get ready for your day.
- Use a cooler to keep your juices cold and fresh throughout your day.
4) Variety is Better
When you are juicing, you’ll want a large variety of juice to keep your tastebuds satisfied and up the amount of nutrients you are getting. Shoot for mostly green and vegetable based juices, with a few smaller, sweeter juices as your snacks.
When you are ready to put it all together, and build a 3, 7, or even a 10 day juice cleanse, there are a few things to do:
- Gather all the ingredients you’ll need, for at least the first 3 days, so you aren’t running out of juice, which will make you more likely to stop your cleanse.
- Prepare 3 large juices each day and 2-3 smaller juices, depending on how much you think you’ll need and how “full” or hungry you feel. Sometimes hunger shows up as lethargy and weakness (especially in the first 3-5 days), so make sure you are looking for these cues as well.
- If you feel really hungry, have a smoothie instead of a juice, even if it’s not on your plan for the day. These contain a little more substance to keep you feeling full. The Cashew Milk Smoothie is a perfect option to add every few days or once a day, since it contains healthy fats, protein and (healthy) calories, to keep you moving forward and not feel so depleted.
- Follow the plan on the next few pages, but substitute however you need to. If you don’t care for one of the juices or smoothies, try another one or create your own. Feel free to play around with ingredients, making your own juice and smoothie recipes. Herbs and roots, such as ginger, can really change the taste of a basic recipe and can be fun to play with.
A few things to remember:
- Drink lots of water, hot or cold. This will keep you hydrated, but also help the juice (and smoothies) to flush out your systems. You can also try lemon water, or add some spices like cayenne, ginger and turmeric to up the detoxifying benefits.
- Limit caffeine, but allow yourself some tea. Caffeine will dehydrate you and hinder some of the cleansing process, as your body tries to work harder to remove it. You can drink a bit or green, white, or even Yerba Mate tea if you do need some caffeine. you can also try caffeine free herbal tea.
- If you need more juice, go ahead and have more. Play around with the amounts you need to make it work for you and to keep you feeling satisfied (Day 2 and 3 are usually the hardest, so maybe make some extra to satisfy you on those days)
- Take time each morning and evening (3-5 minutes) to sit and reflect. Journal or meditate on how you are feeling.
- At the end of your cleanse, slowly add solid, unprocessed foods back into your diet. Start with soups and salads, then work in some cooked vegetables and grains. Add meat back in last, since it is the hardest to digest. You can take a day or two to ease back into eating solid foods again.
Ready to build your own juice cleanse, or just add a few juices into your daily routine? Get your Ultimate Juice Cleanse Guide, with recipes, to help you build a 3, 7 or 10 day cleanse. Click below for your free download.

Enjoy!
![]()
